In this comprehensive guide, we will explore the benefits of ice and water shields for your roof, discuss the top products on the market, and provide a step by step installation guide. Whether you’re a homeowner or a roofing professional, this article will equip you with the knowledge you need to make informed decisions for your roofing project.
What is an Ice and Water Shield?
An ice and water shield is a specialized roofing underlayment designed to protect the vulnerable roof deck from water damage. It is particularly popular in regions with harsh winters and heavy snowfall.
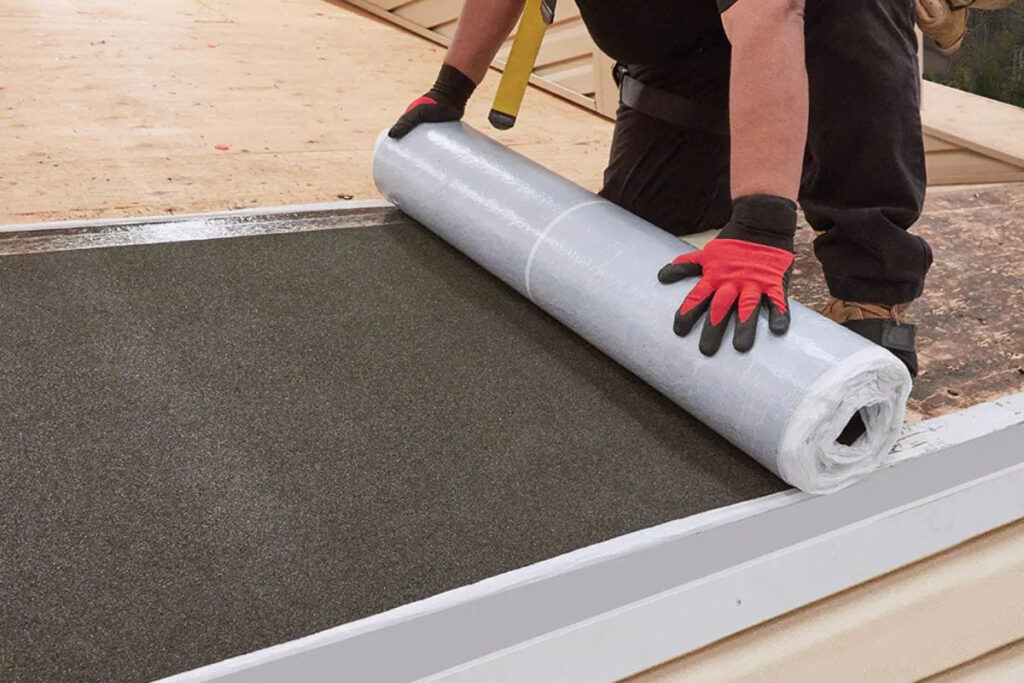
Unlike traditional felt underlayment, ice and water shields feature a self-adhesive backing, which provides superior protection against water infiltration. This rubberized membrane adheres tightly to the roof deck, creating a waterproof barrier that prevents leaks.
Advantages of Installing an Ice and Water Shield on Your Roof
The installation of an ice and water shield offers several key advantages:
1. Enhanced Leak Protection
Ice and water shields provide an extra layer of defense against leaks, ensuring that water does not penetrate the roof deck even if shingles or other roofing materials are damaged.
2. Protection Against Ice Dams
Ice dams occur when melted snow refreezes along the eaves of the roof, causing water to back up and potentially penetrate the roof. An ice and water shield helps prevent ice dam related leaks by creating a watertight seal.
3. Extended Roof Lifespan
By safeguarding vulnerable areas such as valleys and low-pitched sections, ice and water shields help prolong the lifespan of your roof by reducing the risk of water damage.
4. Code Compliance
In many areas, building codes require the installation of an ice and water shield in specific areas of the roof, such as at the eaves and in valleys. Compliance with these codes ensures the structural integrity of your roof.
Top Ice and Water Shields Available On The Market
When it comes to choosing the best ice and water shield for your roof, several reputable brands stand out. Let’s explore the top three products and discuss their pros and cons:
1. WeatherWatch® Ice & Water Leak Barrier by GAF

GAF is a leading manufacturer known for its high quality roofing products, including asphalt shingles, underlayments, and ice and water shields. Here are the pros and cons of using the GAF WeatherWatch Ice & Water Leak Barrier:
Pros:
- Excellent Adhesion: The self adhesive backing of GAF WeatherWatch ice and water shield ensures a strong bond to the roof deck, minimizing the risk of water infiltration.
- Superior Durability: This ice and water shield is designed to withstand extreme weather conditions, including heavy rain, snow, and ice.
- Easy Installation: GAF WeatherWatch ice and water shield comes in rolls, making it easy to handle and install.
Cons:
- Cost: This ice and water shield is generally more expensive than other brands, but the added cost is justified by the product’s durability and performance.
2. Grace Ice & Water Shield® by GCP
GCP is a trusted name in the roofing industry, known for its innovative and reliable products. Here are the pros and cons of using the Grace Ice & Water Shield®:
Pros:
- Double Layered: The Grace Ice & Water Shield is made with two waterproof layers, further protecting the roof deck from water damage.
- Non-Slip Surface: This ice and water shield has a non-slip surface to ensure the safety of anyone working on the roof during installation.
- Split Release Film: The split release film makes installation easier by allowing precise placement of the membrane.
Cons:
- Higher Cost: Grace Ice & Water Shield is typically more expensive than other options. However, its superior performance makes it a sound investment.
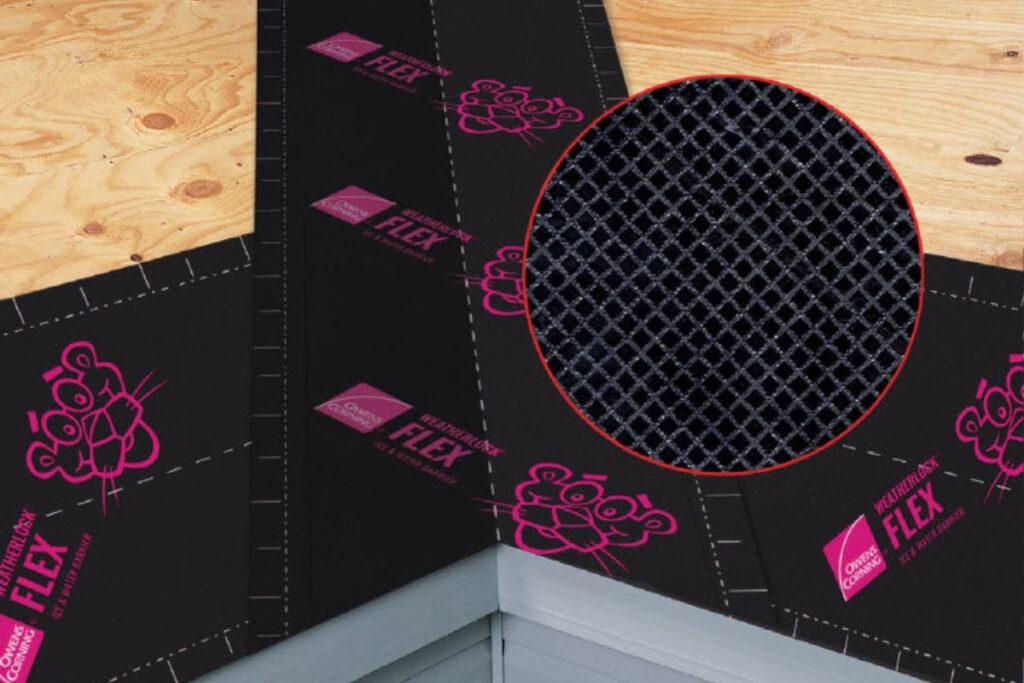
3. WeatherLock® Flex by Owens Corning

Owens Corning is a well known brand that offers a range of roofing and home exterior products. Here are the pros and cons of using the WeatherLock® Flex by Owens Corning:
Pros:
- Flexibility: This ice and water shield is highly flexible, allowing for easy installation around complex roof features such as vent pipes and chimneys.
- Tear Resistance: WeatherLock Flex is designed to resist tearing, ensuring long term durability and protection against leaks.
- Compatibility: WeatherLock Flis is compatible with a variety of roofing materials, making it suitable for different types of roofing projects.
Cons:
- Limited Availability: WeatherLock Flex may not be as widely available as other brands, which could impact accessibility for some homeowners or contractors.
How to Install an Ice and Water Shield
Proper installation of an ice and water shield is crucial to ensure its effectiveness in protecting your roof. Here is a step by step guide to installing one:
1. Prepare the Roof Deck
- Ensure the roof deck is clean and free of debris.
- Repair any damaged or rotted sections of the roof deck before installation.
- Install a drip edge along the eaves of the roof.
2. Cut and Apply the Ice and Water Shield
- Measure and cut the ice and water shield to fit the desired areas of the roof, including valleys, flat sections, and areas prone to ice dams.
- Starting at the lowest point, remove the film from the self adhesive backing and carefully apply the ice and water shield to the roof deck.
- Smooth out any wrinkles or air bubbles as you go, ensuring a smooth and secure fit.
3. Overlap and Seal the Joints
- Follow the manufacturer’s guidelines for overlapping sections of the ice and water shield. Generally, you will apply an additional strip of the membrane, overlapping the previous piece by at least 3 inches.
- Press the overlapping sections down firmly to ensure a watertight seal.
- Use a roller or hand pressure to firmly seal the joints and edges of the ice and water shield.
4. Installing Shingles or Roofing Material Over the Ice and Water Shield
- Once the ice and water shield is properly installed, you can proceed with installing your chosen roofing material, such as shingles or metal panels, over the membrane.
- Follow the manufacturer’s instructions for the installation of the roofing material, ensuring proper fastening and sealing techniques.
Hire Kickapoo Roofing In La Crosse For Your Roof Replacement
If you are considering replacing your roof in La Crosse, WI, contact Kickapoo Roofing. Our team of roofers are experienced and proficient at handling any roofing project, be it a new roof installation or a complete roof replacement. We are always ready to serve both residential and commercial building owners.
Contact us today at (608)-352-8688 to consult a professional for your specific roofing needs.
FAQs:
A. While it is possible to install an ice and water shield yourself, it is recommended to hire a professional roofing contractor for the best results. Proper installation requires expertise and knowledge of roofing techniques to ensure the membrane is correctly applied and sealed.
A. Yes, it is recommended to use drip edge flashing in conjunction with an ice and water shield. Drip edge flashing provides additional protection for the roof deck and fascia board, enhancing the overall performance and longevity of your roof.
 (608) 352-8688
  schedule consultation


