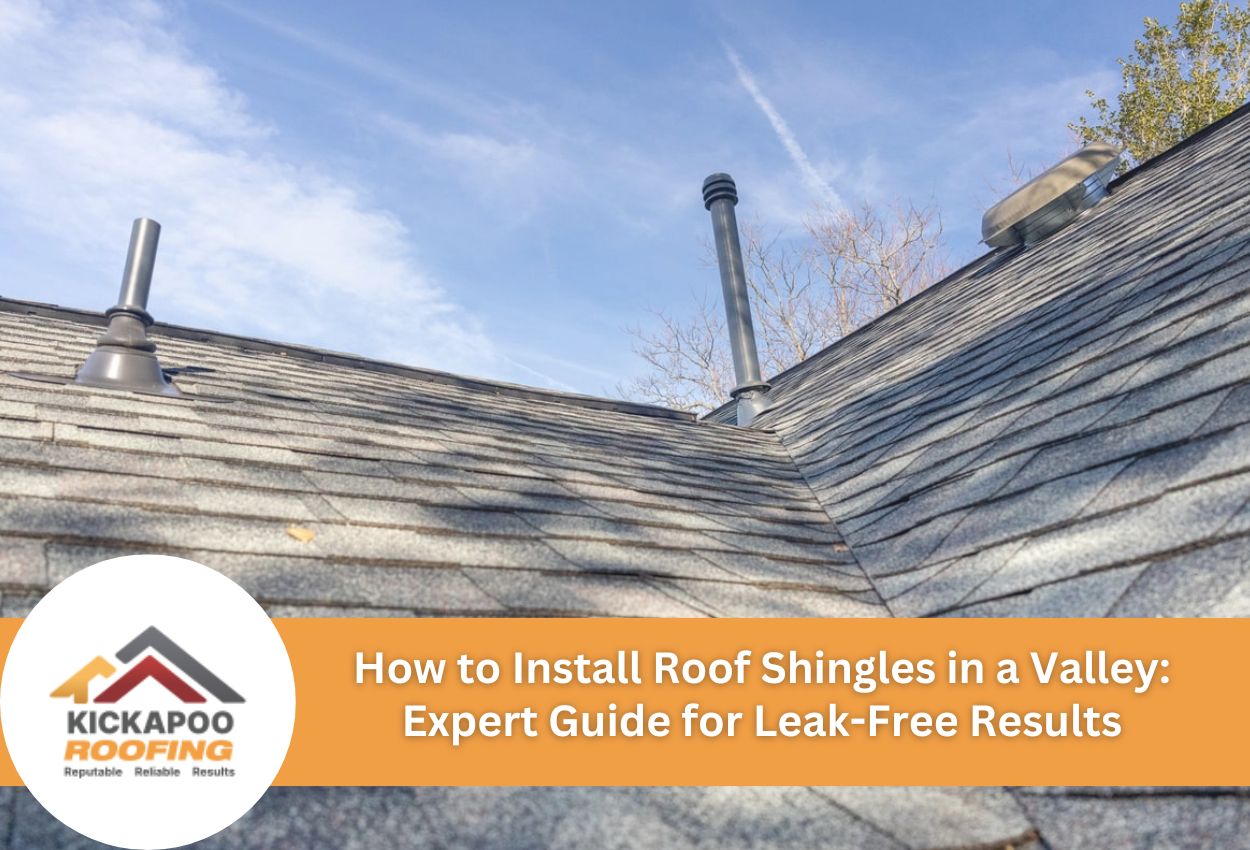
Roof valleys are critical junctions where two roof planes meet, creating one of the most vulnerable areas in the whole system. Shingle installation in these valleys is essential for maintaining roof integrity and preventing leaks that can damage your home’s interior. For homeowners and property managers across Wisconsin, Iowa, and Minnesota, where heavy rain and snow melt create significant water flow, getting valley installation right is particularly important.
Valley installation techniques vary between open and closed methods, each with specific applications depending on your roof design and local weather conditions. The right approach combines quality underlayment, flashing materials, and precise shingle placement to create a watertight barrier that channels water safely off your roof. Mistakes in this area can lead to immediate leaks or premature roof failure, making the use of the right techniques absolutely essential.
This guide covers everything needed for successful roof valley shingle installation, including required tools and materials, step-by-step waterproofing methods, and professional techniques for both open and closed valley applications. Whether facing harsh Midwest winters or preparing for spring downpours, understanding roof valleys helps keep your roof watertight for years to come.
Understanding Roof Valleys and How They Function
Roof valleys are the V-shaped channels formed where two roof planes intersect. These architectural features serve as natural drainage pathways, collecting and channeling water from large sections of your roof during rainstorms and snow melts. Because valleys concentrate so much water flow, they require special attention and proper installation techniques to prevent leaks and water damage.
In the harsh weather conditions typical across Wisconsin, Minnesota, and Iowa, roof valleys face extreme challenges. During winter, valleys collect snow that can create ice dams during freeze-thaw cycles. Come spring, these same valleys must handle massive water volumes from melting snow and seasonal downpours. Without proper protection, this concentrated water flow can find its way beneath shingles and into your home.
Correct valley shingle installation creates a watertight barrier using specialized techniques and materials. This includes heavy-duty underlayment, quality metal flashing, and precisely installed shingles that direct water away from the seam. The valley installation method chosen, whether open valley with exposed flashing or closed valley with overlapping shingles, must account for your roof’s pitch, local weather patterns, and aesthetic preferences.
Midwest homeowners should pay extra attention to valley construction as these vulnerable areas are often the first to develop problems. Professional installation by experienced local contractors ensures your roof valleys will stand up to our region’s demanding climate.
What Tools and Materials are Needed for Valley Shingle Installation?
Successful valley shingle installation requires specific tools and materials to ensure a watertight seal that can withstand the harsh Midwestern weather. Having the right equipment on hand before starting your project will save time and help achieve professional results that protect your home for years to come.
For valley installations in Wisconsin, Minnesota, and Iowa homes, you’ll need basic roofing tools, including a hammer, utility knife, chalk line, measuring tape, and roofing nails. Specialty items include a roofing hatchet with gauge, tin snips for cutting metal flashing, and a high-quality caulking gun for applying roofing cement where needed. A pneumatic nail gun can significantly speed up the process for larger projects.
Material requirements start with valley flashing options, typically 24-inch wide W-valley metal flashing or roll valley lining. Ice and water shield underlayment is essential for Midwest homes, providing additional protection against damage caused by ice dams. Choose underlayment with at least a 36-inch width to completely cover the valley area with appropriate overlap. Standard roof underlayment, whether synthetic or traditional felt, is needed for the remaining roof surface.
Safety equipment is non-negotiable and should include OSHA-approved fall protection, sturdy footwear with slip-resistant soles, heavy-duty gloves, eye protection, and knee pads. Before beginning, ensure your ladder is secured, roof debris is cleared, and weather conditions are favorable for installation work.
Open Valley vs. Closed Valley: Choosing the Right Method
For roof valleys, homeowners have the choice between open valleys and closed valleys. Each method has distinct advantages that make it suitable for different situations commonly found across Wisconsin, Iowa, and Minnesota homes.
Open valley installations feature exposed metal flashing running the length of the valley, with shingles trimmed back on both sides. This method excels in regions with heavy precipitation as it creates a clear pathway for water runoff and easily sheds debris. Open valleys are particularly effective on steeper roofs and in northern Wisconsin and Minnesota areas that experience substantial snowfall. They also offer easier maintenance and typically last longer in harsh weather conditions.
Closed valley systems, alternatively, involve weaving or overlapping shingles across the valley without exposed metal flashing. This creates a seamless appearance that many homeowners prefer aesthetically. Closed valleys work well on homes with moderate roof pitches in southern Wisconsin and Iowa, where snow loads are less severe. They’re also ideal for architectural shingle applications and complement traditional home designs.
The right choice depends on several factors specific to your property. Consider your roof pitch, as steeper roofs benefit from open valleys, typical precipitation levels in your specific location, and the architectural style of your home. For homes in areas with abundant tree coverage, open valleys prevent leaf and debris buildup. Local building codes may also influence your decision, so consulting with a qualified Midwest roofing contractor ensures correct valley shingle installation tailored to regional weather patterns.
Step-by-Step Open Valley Installation
Installing shingles in an open valley requires careful attention to detail and proper sequencing. Begin by cleaning the valley area thoroughly, removing any debris or old roofing materials that could impede water flow. For Midwest homes facing our region’s heavy rain and snow melt, this preparation step is crucial for long-term performance.
First, install a 36-inch wide ice and water shield directly over the valley center, running the full length from eave to ridge. Next, place your metal valley flashing, centering it in the valley and securing it with nails placed high on the outer edges — never nail through the center of the flashing where water will flow. Create a chalk line on each side of the valley center, maintaining a minimum 6-inch gap at the top that widens to 8 inches at the bottom to accommodate increased water volume.
When installing shingles, run them over the valley flashing from both roof planes, then snap your chalk lines and trim the shingles back. Cut shingles at a diagonal angle matching the valley line, removing a triangular corner from each shingle that would touch the valley center. This prevents water from being driven up under shingles. Apply a small amount of roofing cement under each shingle edge facing the valley to create a watertight seal.
For properties throughout Wisconsin, Minnesota, and Iowa, properly installed open valleys provide superior protection against our frequent freeze-thaw cycles and heavy precipitation, channeling water efficiently away from this vulnerable roof area.
How to Install a Closed Valley
The closed valley installation technique creates a seamless appearance while maintaining excellent water resistance when properly executed. This method is particularly popular in residential neighborhoods across Wisconsin, Iowa, and Minnesota, where architectural aesthetics are a priority. Unlike open valleys, closed installations completely cover the valley with shingles using a precise weaving technique.
Start by installing ice and water shield membrane along the entire valley, extending at least 12 inches up each side. Apply another layer of underlayment over this for additional protection. Begin shingling from the roof plane with the lower pitch or lower height. When you reach the valley, extend the shingles at least 12 inches across the centerline. Secure these shingles with nails placed at least 6 inches away from the valley center to prevent future leaks.
When shingling the intersecting roof plane, overlap the first plane’s shingles and trim each shingle 2 inches back from the valley centerline. Use chalk lines as guides to maintain straight cuts. Apply a bead of roofing cement under each shingle where it crosses the valley to ensure a watertight seal. This prevents water from being driven underneath during heavy Midwest downpours. Never drive nails within 6 inches of the valley centerline where water concentration is highest.
For best results in our northern climate, maintain consistent overlap measurements and take extra care with ice dam prevention at lower sections of valleys. Proper closed valley technique creates reliable watershed protection while preserving your roof’s clean, continuous appearance.
Finishing Touches and Quality Inspection
After completing your valley shingle installation, a thorough quality inspection is essential to ensure long-term protection against the challenging Midwest weather conditions. Even small oversights can lead to significant water intrusion issues, particularly in valleys where water flow is concentrated during heavy rainfall and snowmelt periods common across Wisconsin, Minnesota, and Iowa.
Begin your final inspection by checking for shingle alignment along the valley line. Look for any exposed nails, as these create potential leak points and should be properly sealed with roofing cement. Verify consistent overlap measurements — a minimum of 2 inches for closed valleys or proper setback distances for open valleys. Ensure all shingle corners near the valley center have been clipped to prevent water from being driven underneath.
For optimal performance in our Midwestern climate, valleys require periodic maintenance. Schedule professional inspections at least once every two years, ideally in early fall before winter weather arrives. After severe storms, examine valleys for debris accumulation or damaged shingles that could impede proper drainage. Clear pine needles, leaves, and other debris that can trap moisture and accelerate the deterioration of valley materials.
Valley flashing should remain securely fastened and free from rust or corrosion. In northern regions like Minnesota and Wisconsin, where ice dams are common, consider additional preventive measures such as heating cables in problem areas. With proper installation and regular maintenance, your roof valleys will provide reliable protection against our region’s challenging weather patterns for many years to come.
Secure Your Home with Expert Shingle Installation in Roof Valleys by Kickapoo Roofing
At Kickapoo Roofing, we understand the importance of meticulously installing shingles in your roof valleys to prevent water damage and leaks, especially under the challenging weather conditions of the Midwest. Whether you’re considering an open or closed valley installation, our team is equipped with the right tools and expertise to ensure your roof stands strong against Wisconsin, Minnesota, and Iowa’s harsh weather.
Don’t let improper installation compromise your home. Trust Kickapoo Roofing to provide top-notch valley shingle installation that lasts. Call us today at (608) 352-8688 to schedule a consultation or to learn more about our services. Ensure your roof is equipped to handle whatever the Midwest skies throw its way.
 (608) 352-8688
  schedule consultation


